I have been slow rolling these blog posts. The HeroQuest project, the goal being a fully painted set of the original HeroQuest core set, has been completed for a few weeks now. I didn’t take the time to take the photos to write the posts to blog the blog. With the end of the year approaching and other projects waiting, it’s time to post the last few parts and wrap this up.
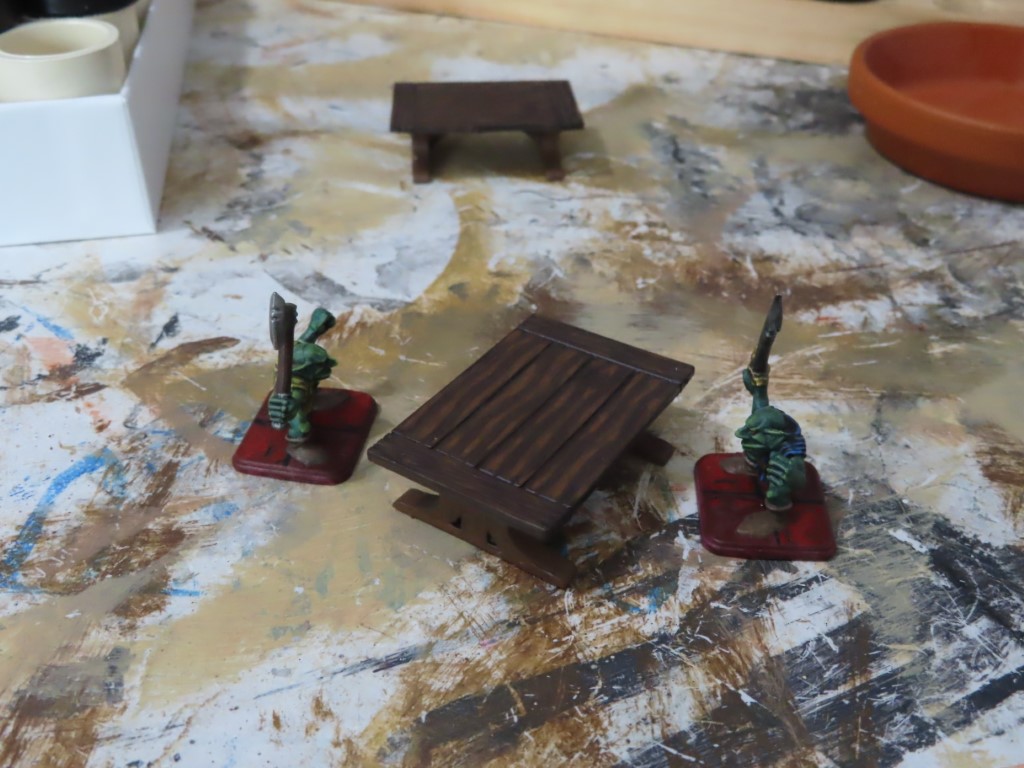
Tables are boring, but needed. These models were slightly oversized in their original format on Thingiverse. I strongly recommend comparing the models on Blender or on your slicer software before printing to get the scale correct. They do have good detail, with the wood grain carved in to help in the painting.

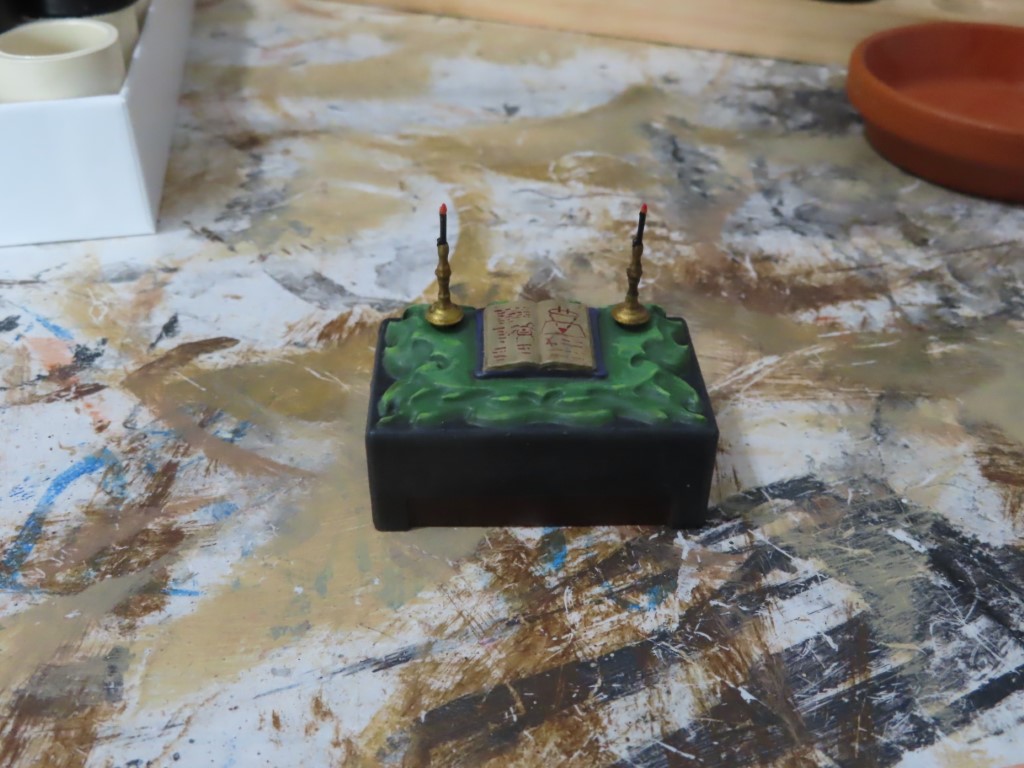
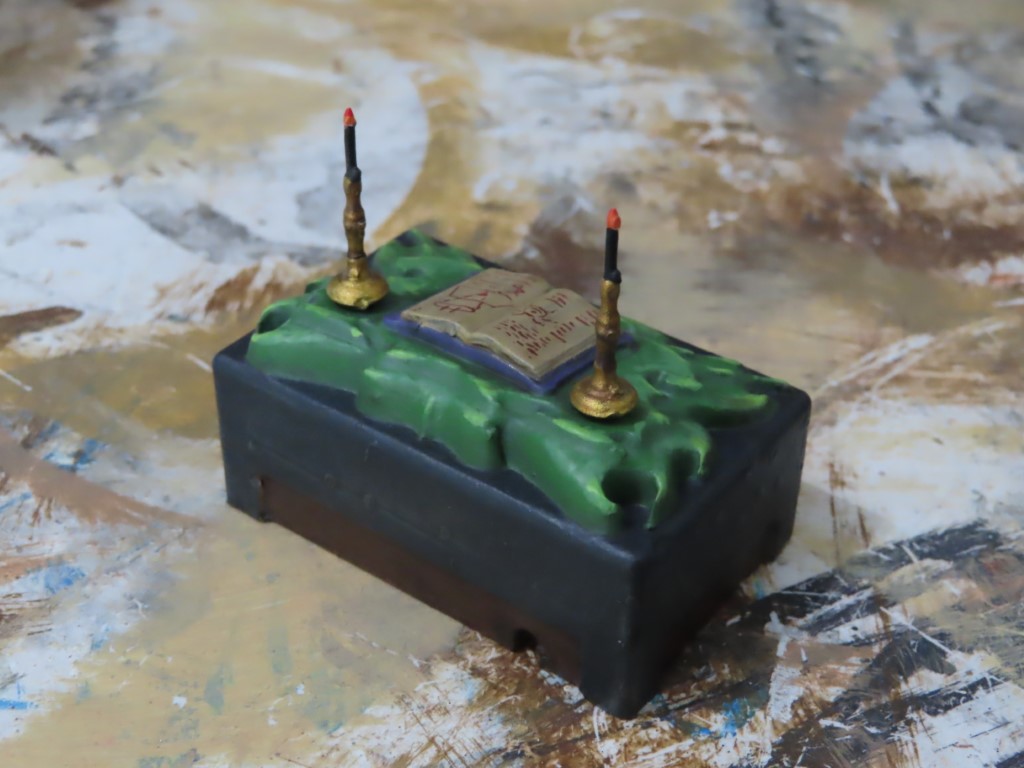
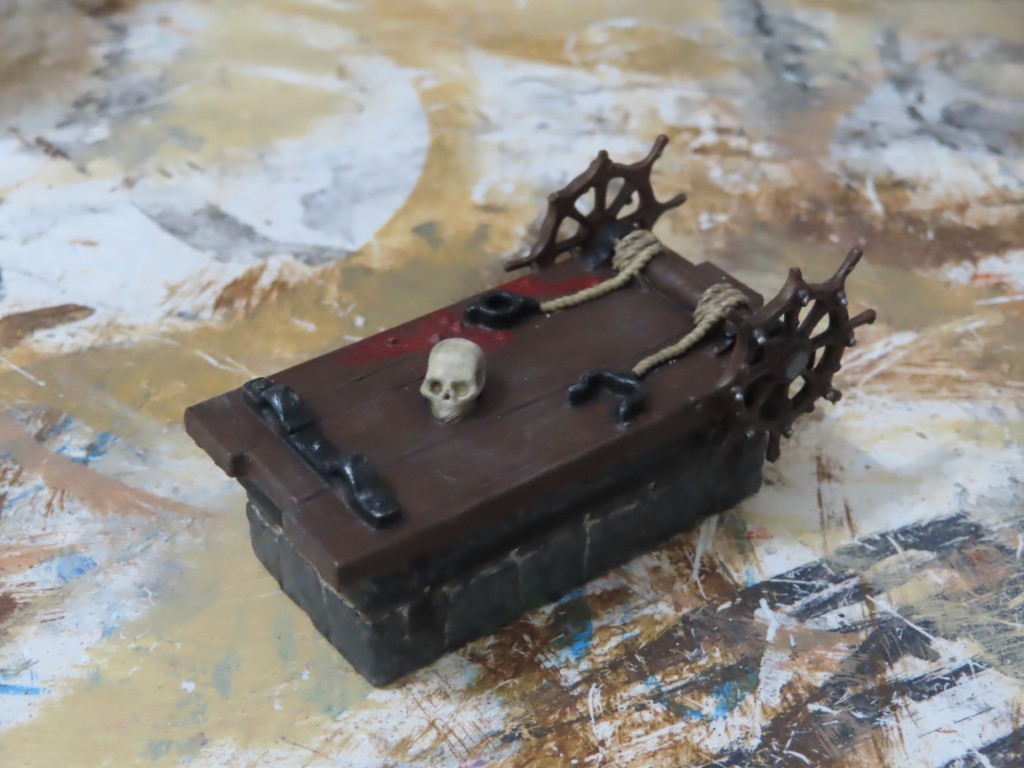
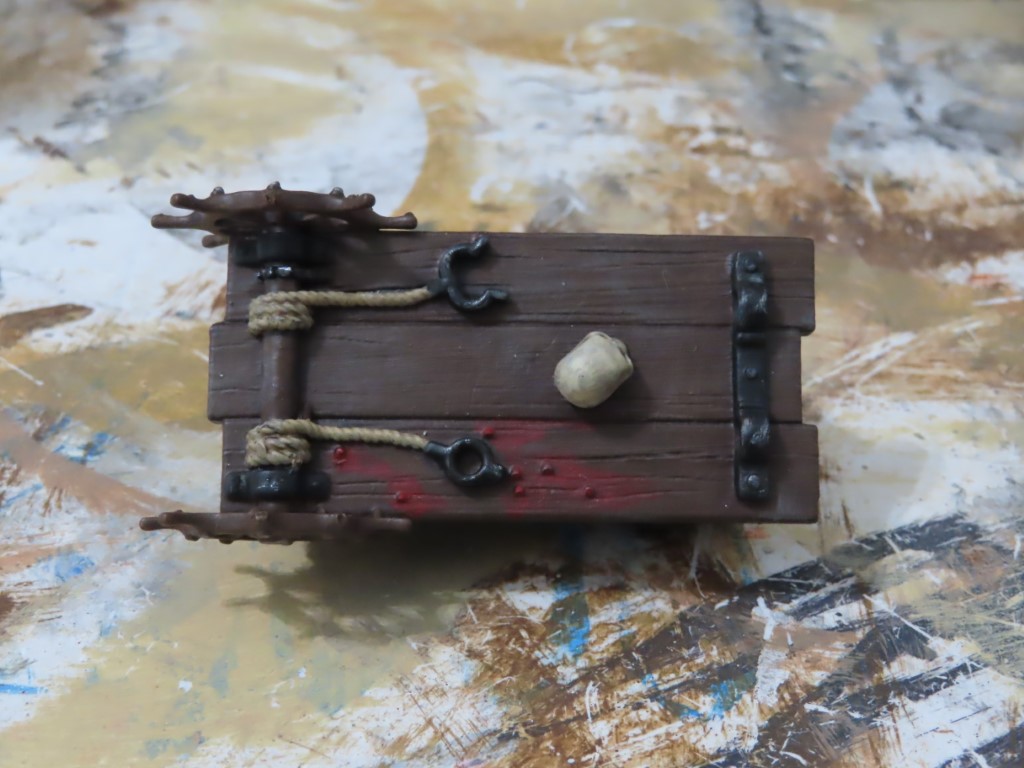
The evil altar. Those candle sticks. This piece was difficult to trim after printing. The model was offered with removable candlesticks but I, ever the fool, printed it as a single piece. I’m hoping that the risk of breakage is increased if the candle sticks are removable.
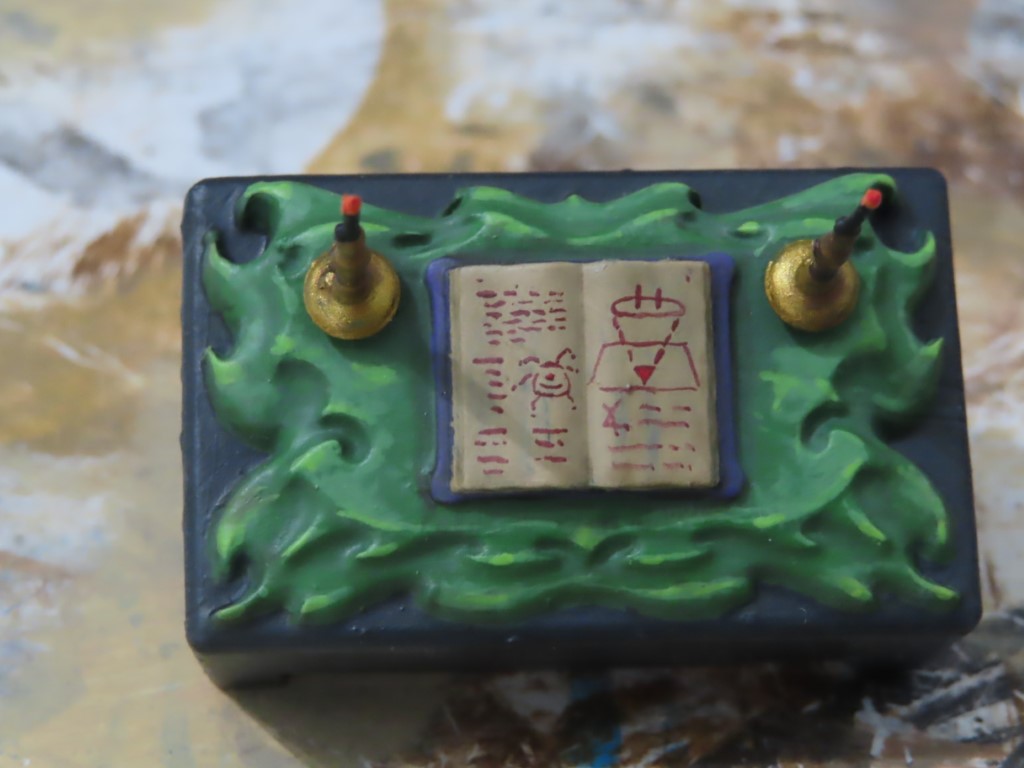
The dark green top turned out well. Just enough detail and highlighting to make it interesting. I’ve seen better executions, but I got the effect I wanted. The book of course needed writing. Bonus points to anyone who can tell me what the diagram on the right hand page represents.

The rack turned out too big. There is a joke there… skip it.
Again, scale can be odd on 3D models. The model is great, but check your scale against some reference piece before slicing and printing. I was a little too vigorous when cleaning the model after the print and broke some of the handles on the turn wheels. It doesn’t detract so I left it that way.

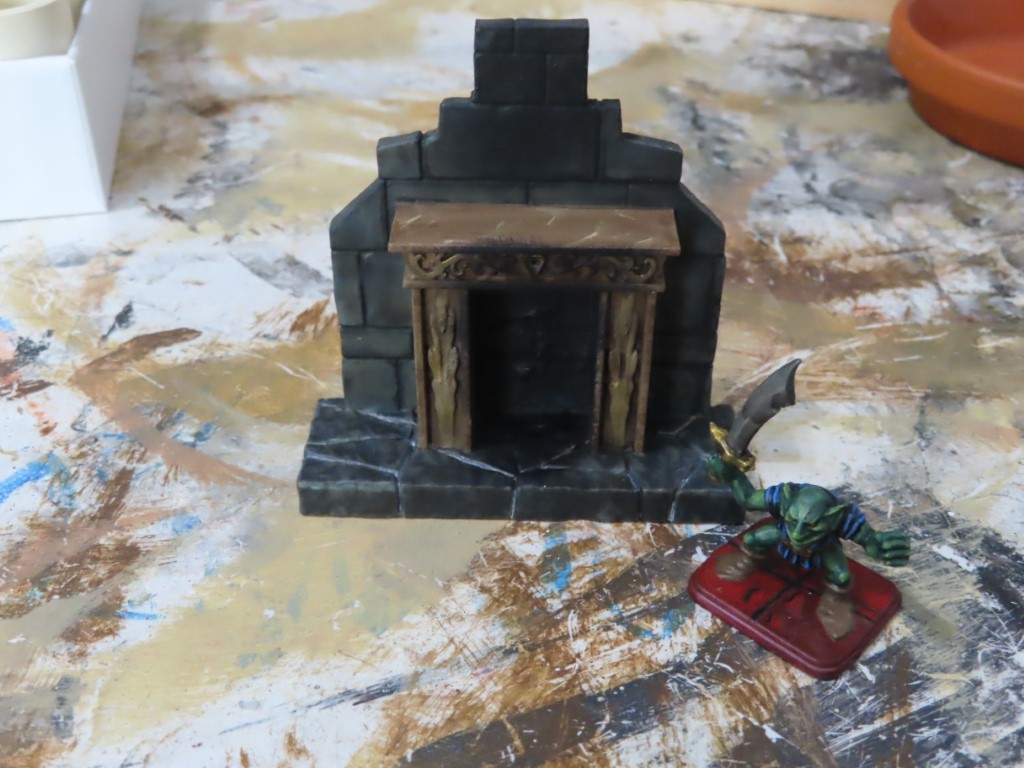
The fireplace is missing fire and a portrait. The brick work is carved in and the fireplace and mantle have great details. This model is great; a slight variation on the original HeroQuest fireplace that ends up looking really good.

I did not print a new weapon rack. The original was good. No bent or broken parts. No cardboard inserts to get warped over time. It did not photograph well, but it looks good.

There were a lot of doors. Thingiverse has a few options. Some are inserts that go into the base from the original HQ game. Some are very different looking. I went with an open and closed look that matches as closely as possible to the originals. These are well done, with enough weight at the bottom to reduce chances of knocking them over.

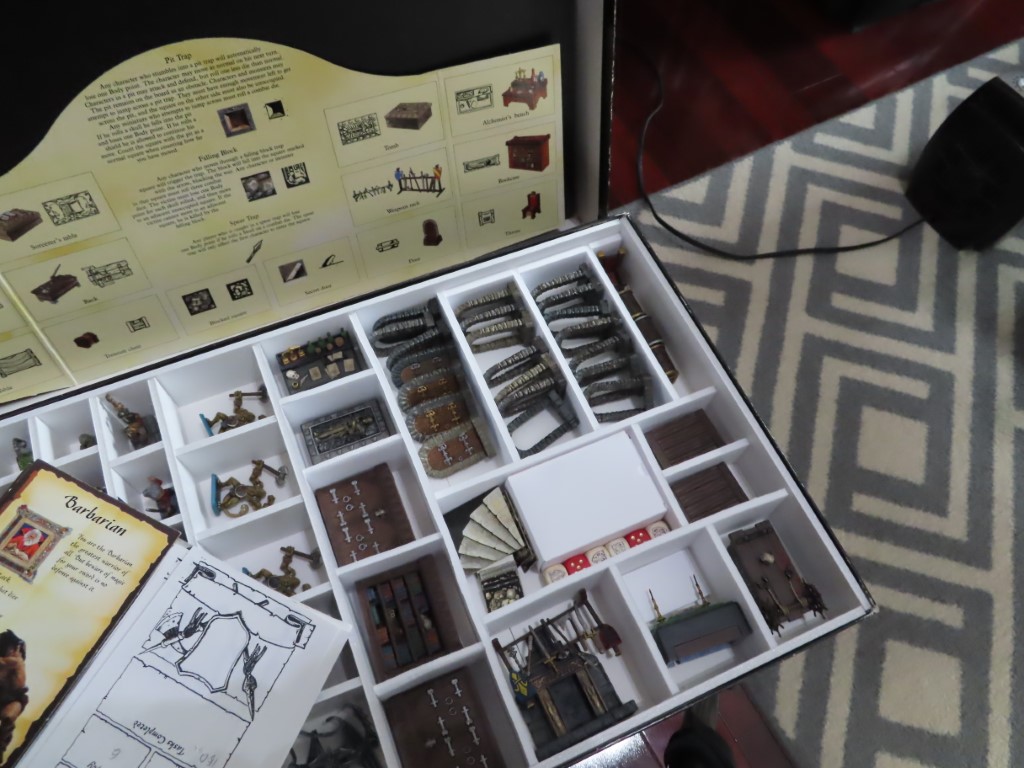
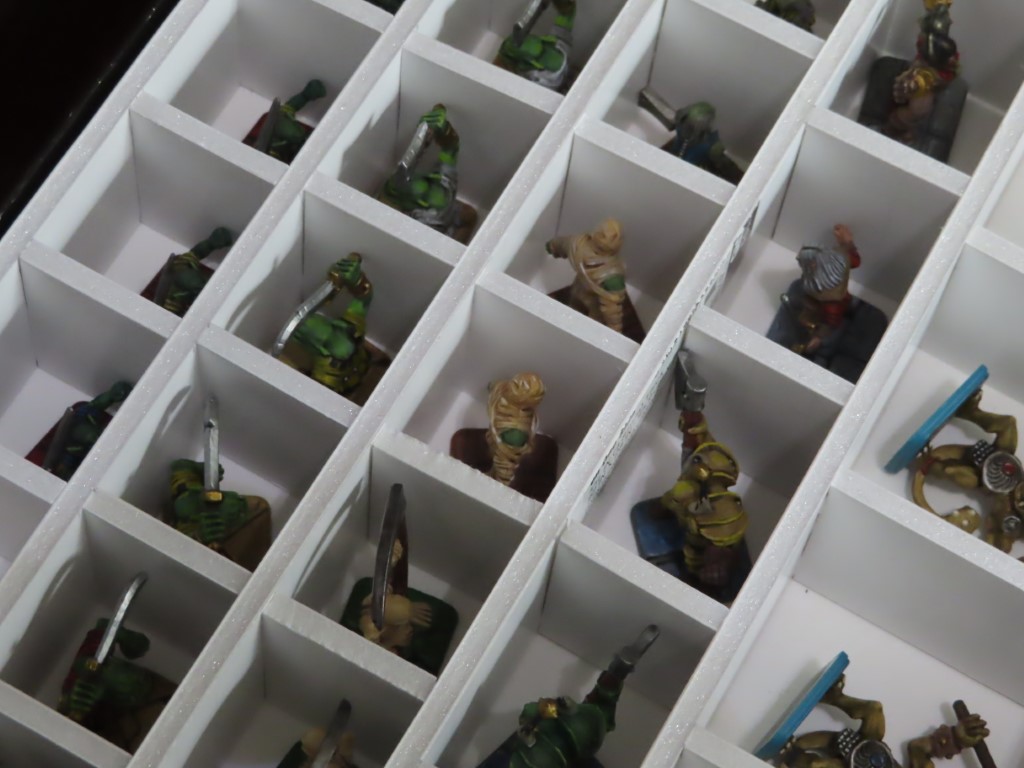
Finally, storage. Now that everything is painted, how do I prevent damage or loss? Back in the early ’90s I just put everything in the box and hoped that nothing got damaged. Those were unpainted. And that hope sometimes didn’t work out.
I’m sure there is someone who produces a custom foam insert. I don’t have time for that. What I do have is a lot of foamcore, glue, and a razor. Easy enough to make a storage solution that fits the original box. Foamcore for the cells, which will also help prevent crushing. That squish, bendy craft foam on the bottom to keep the painted figures from rubbing on the box.

That’s the end of the project. It’s all ready to play. Some of the parts turned out very well. Some of the parts could be a little better, but none of it is a disappointment.
For the pure nostalgia of it all, I am really very happy to have this done. I always wanted to paint the entire game. Never a problem playing with unpainted figures, but these always called for painting. It adds something, it increases the enjoyment for me in a way separate from the game itself. I’m not sure that makes sense. But having it painted is a way for me to bring something to the game that Games Workshop and Milton Bradly didn’t put there.
Expansions! There are a few expansions out there. I own two of them and can print and assemble the missing ones. But those are projects for future Art.
2021 Count to Date:
122 figures painted
133 purchased
34 printed

Leave a comment